If you’re diving into the world of DIY electronics or robotics, the Arduino Uno is likely the first name you’ll come across. This open-source microcontroller board is the heart of thousands of creative and practical projects, from automatic lights to temperature sensors, robots, and IoT devices.
Whether you’re a hobbyist, student, or engineer, understanding the Arduino Uno is key to mastering electronics. In this complete guide, we’ll explore what the Arduino Uno is, how it works, its features, circuit setup, pin configuration, and common FAQs.
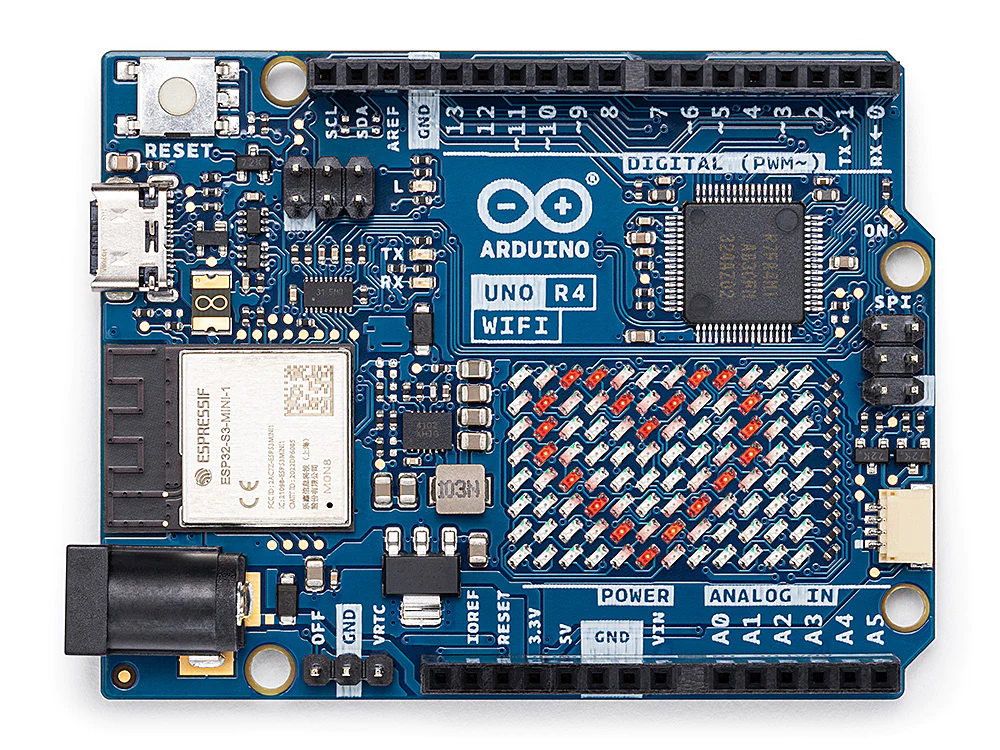
📦 What Is Arduino Uno?
Contents
The Arduino Uno is a microcontroller board based on the ATmega328P chip. It’s designed to make electronics more accessible for beginners and pros alike. You can connect sensors, LEDs, motors, displays, and other components to it and control them using simple code written in the Arduino IDE (Integrated Development Environment).
The word “Uno” means “one” in Italian, and it was the first in a long line of Arduino boards.
🔍 Key Features of Arduino Uno
| Feature | Details |
|---|---|
| Microcontroller | ATmega328P |
| Operating Voltage | 5V |
| Input Voltage (recommended) | 7–12V |
| Digital I/O Pins | 14 (of which 6 provide PWM output) |
| Analog Input Pins | 6 |
| Flash Memory | 32 KB (0.5 KB used by bootloader) |
| SRAM | 2 KB |
| EEPROM | 1 KB |
| Clock Speed | 16 MHz |
| USB Port | Type B (for programming and power) |
| Communication | UART, SPI, I2C |
| Programming Interface | USB or ICSP |
These specs make the Arduino Uno ideal for medium-complexity projects like automation systems, data loggers, and wireless control.
⚡ How Arduino Uno Works
Arduino Uno is the control center of your circuit. You write a program (called a “sketch”) in the Arduino IDE using C/C++-like syntax. When you upload this sketch to the board, it starts executing it in a loop — reading inputs (like from sensors) and controlling outputs (like motors, LEDs, or relays).
For example:
- Input: Reads data from a temperature sensor
- Output: Turns on a fan when temperature exceeds a limit
This combination of hardware and software makes it a perfect tool to bring your creative electronics ideas to life.
🧩 Pin Configuration of Arduino Uno
Here’s a breakdown of all the pins and their functions:
🔌 Power Pins
- VIN: Input voltage to the board (when using an external power source)
- 5V: Regulated 5V output
- 3.3V: 3.3V output (used for low-voltage components)
- GND: Ground pins (multiple)
🔧 Digital I/O Pins (0–13)
- Pins 0 (RX) and 1 (TX): Serial communication
- Pins 2–13: General-purpose digital I/O
- PWM-capable Pins: 3, 5, 6, 9, 10, 11 (marked with ~)
📊 Analog Input Pins (A0–A5)
- Used to read analog sensors like potentiometers, temperature sensors, etc.
📞 Communication Pins
- SPI: Pins 10 (SS), 11 (MOSI), 12 (MISO), 13 (SCK)
- I2C: Pins A4 (SDA), A5 (SCL)
🔃 Reset Pin
- Can be used to reset the board manually.
🔁 Basic Arduino Uno Circuit Diagram
Here’s a simple circuit that blinks an LED using pin 13.
🧰 Components Needed:
- Arduino Uno
- 220Ω Resistor
- LED
- Breadboard & jumper wires
🔗 Circuit Connections:
- Connect the positive leg of LED to pin 13
- Connect the negative leg through a 220Ω resistor to GND
💻 Code:
cppCopyEditvoid setup() {
  pinMode(13, OUTPUT);
}

void loop() {
  digitalWrite(13, HIGH);
  delay(1000); // 1 second
  digitalWrite(13, LOW);
  delay(1000); // 1 second
}
Upload this sketch using the Arduino IDE, and your LED will blink every second!
💡 Popular Arduino Uno Project Ideas
- LED Blinker
- Motion Sensor Light
- Bluetooth-Controlled Display
- Line Follower Robot
- Smart Plant Watering System
- Home Automation using Wi-Fi
🔁 Arduino Uno vs. Other Boards
| Board | Microcontroller | I/O Pins | USB Port | Special Features |
|---|---|---|---|---|
| Arduino Uno | ATmega328P | 14 D / 6 A | Type B | Standard, great for beginners |
| Arduino Nano | ATmega328P | 22 total | Mini USB | Compact and breadboard-ready |
| ESP8266 (NodeMCU) | ESP8266 | 11 D / 1 A | Micro USB | Built-in Wi-Fi |
| Arduino Mega | ATmega2560 | 54 D / 16 A | Type B | Best for large projects |
🧠 Why Choose Arduino Uno?
- 📚 Tons of tutorials and community support
- 🔌 Easy to connect components
- 💻 Beginner-friendly IDE and programming
- 🧩 Expandable with shields (Wi-Fi, Motor, Relay, etc.)
Whether you’re automating a greenhouse or building a smart car, Uno is a reliable choice.
🤔 Frequently Asked Questions (FAQs)
Q1. What can I do with Arduino Uno?
You can build robots, automate your home, log temperature data, or control lights, motors, and more.
Q2. Do I need to know programming?
Not necessarily. Arduino uses simplified C++ and has tons of beginner-friendly tutorials.
Q3. Can I power it with a battery?
Yes! Use a 9V battery or a battery pack via the VIN pin.
Q4. What is the difference between Uno and Nano?
Uno is larger and easier to use for learning. Nano is compact and fits better on breadboards.
Q5. Is Arduino Uno suitable for IoT?
You can use Uno with Wi-Fi modules like ESP8266 or ESP32, or choose a board like NodeMCU for built-in connectivity.
🔗 Conclusion: Start Building with Arduino Uno Today
The Arduino Uno opens a world of possibilities for DIY electronics, automation, and learning. Its simplicity, flexibility, and huge community make it a go-to choice for students, tinkerers, and developers worldwide.
So whether you’re building a Bluetooth-controlled LED display, a smart watering system, or just blinking an LED — the Uno is the perfect place to start.
👉 Need help with a specific project? Check out our DIY Electronics Projects section or Contact Us.