If you’re a beginner in electronics or a DIY hobbyist, the breadboard is your best friend. It allows you to build, test, and modify circuits without soldering, making it the perfect tool for rapid prototyping.
In this complete guide, you’ll learn what a breadboard is, how it works, how to use one with components like resistors, LEDs, and microcontrollers, and common mistakes to avoid.
🔍 What is a Breadboard?
Contents
- 1 🔍 What is a Breadboard?
- 2 📖 Breadboard Full Form and History
- 3 🔩 How Does a Breadboard Work?
- 4 🧭 Breadboard Layout & Pinout
- 5 🧪 How to Use a Breadboard (Step-by-Step)
- 6 🧰 Example: LED Blinking Circuit on Breadboard
- 7 🧱 Types of Breadboards
- 8 📦 Applications of Breadboards
- 9 ✅ Advantages of Using Breadboards
- 10 ⚠️ Common Breadboard Mistakes to Avoid
- 11 ❓ Frequently Asked Questions (FAQs)
- 12 🏁 Conclusion
A breadboard is a rectangular plastic board with a grid of holes used to build and test electronic circuits without soldering. It allows you to insert electronic components and make connections using jumper wires.
🧠 Breadboard Basics:
- No soldering required
- Reusable and beginner-friendly
- Ideal for prototyping and testing
📖 Breadboard Full Form and History
There’s no official “full form” of breadboard, but originally, engineers would build circuits on literal wooden breadboards! The name stuck even after the introduction of modern plastic versions in the 1970s.
🔩 How Does a Breadboard Work?
A breadboard has internal metal strips (usually made of phosphor bronze or nickel silver) that electrically connect rows and columns of holes.
📌 Key Sections:
- Terminal Strips (Main Area): Where components are placed
- Bus Strips (Power Rails): For Vcc (+) and GND (−)
🔗 Connectivity Layout:
- Each row (horizontal) of 5 holes is connected internally.
- Each column (vertical) of power rails is connected.
💡 Tip: There is usually a gap in the middle for placing ICs (Integrated Circuits) without shorting pins.
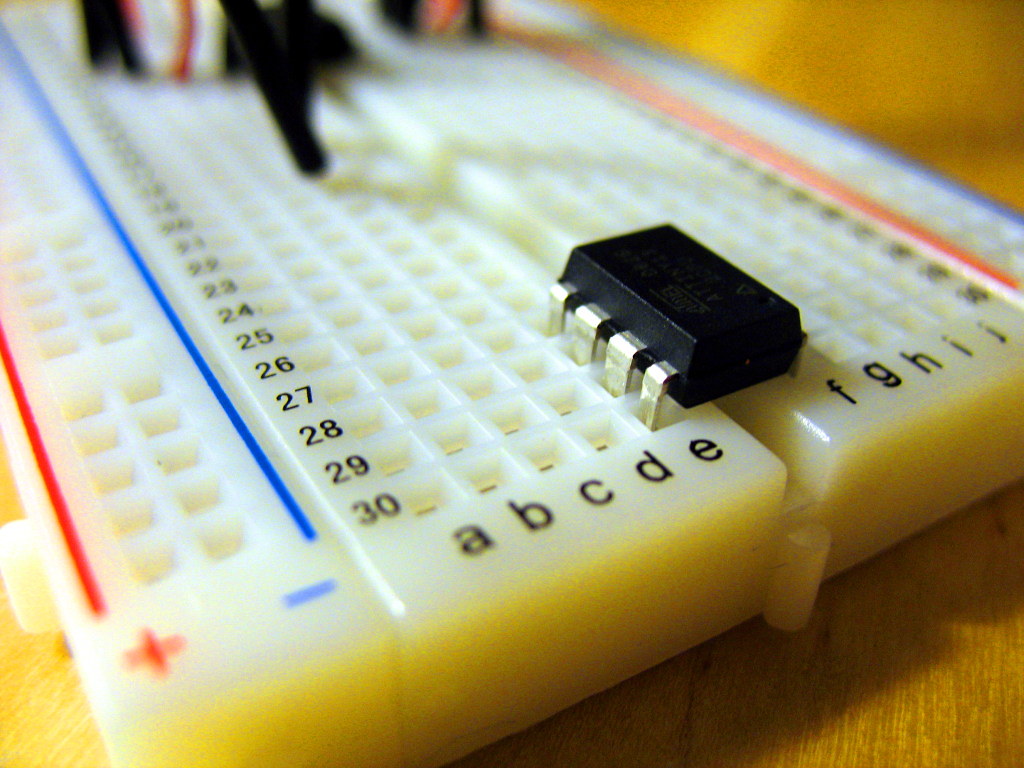
🧭 Breadboard Layout & Pinout
Here’s a simple overview of breadboard pinout:
mathematicaCopyEdit+   +   +   +   +   Gap   -   -   -   -   -
| A | B | C | D | E |     | F | G | H | I | J |
- A–E are one group of connected holes.
- F–J are the other group.
- Red (+) and Blue (−) lines are power rails.
🧪 How to Use a Breadboard (Step-by-Step)
✅ Step 1: Connect Power
Use a 5V or 3.3V power supply (from Arduino or battery). Connect Vcc to the red rail and GND to the blue rail.
✅ Step 2: Insert Components
Place components like resistors, LEDs, or sensors in the terminal area.
✅ Step 3: Make Connections
Use jumper wires to connect components or interface them with a microcontroller.
🧰 Example: LED Blinking Circuit on Breadboard
Components Required:
- 1x Breadboard
- 1x LED
- 1x 220Ω Resistor
- Jumper wires
- Arduino or 5V power
🖉 Circuit Description:
- Resistor connected to LED anode
- Cathode connected to GND
- Anode connected to Arduino digital pin (e.g., D13)
This basic setup helps you test LED behavior safely.
🧱 Types of Breadboards
| Type | Description |
|---|---|
| Mini Breadboard | Small size for simple circuits |
| Half-Size Breadboard | Most commonly used for Arduino projects |
| Full-Size Breadboard | For complex circuits with multiple ICs |
| Transparent Breadboard | Lets you see internal connections |
| Solderable Breadboard (Perfboard) | Permanent version with soldering |
📦 Applications of Breadboards
Breadboards are used in various stages of electronics:
🔧 For Learning:
- Experiment with LEDs, resistors, capacitors, and transistors
- Understand how circuits work
🤖 For Prototyping:
- Test sensor modules like HC-SR04, DS18B20, PIR
- Interface with microcontrollers (Arduino, ESP8266, Raspberry Pi)
🧪 For Testing:
- Debug new circuits without permanent connections
- Replace components easily
✅ Advantages of Using Breadboards
| Feature | Benefit |
|---|---|
| No soldering needed | Saves time and protects components |
| Reusable | Can be used for multiple projects |
| Cost-effective | Inexpensive and widely available |
| Beginner-friendly | Great for students and hobbyists |
| Flexible | Easily modify and expand circuits |
⚠️ Common Breadboard Mistakes to Avoid
- Connecting power rails in reverse (Vcc to GND)
- Forgetting to add a current-limiting resistor for LEDs
- Placing components across rows (instead of across the central gap)
- Using poor-quality jumper wires that don’t fit properly
❓ Frequently Asked Questions (FAQs)
Q1: What is a breadboard used for?
Breadboards are used for building and testing temporary electronic circuits without soldering.
Q2: Can I reuse a breadboard?
Yes, breadboards are reusable. You can insert and remove components multiple times.
Q3: Can I use a breadboard for high-voltage circuits?
No. Breadboards are meant for low-voltage DC circuits (typically under 12V).
Q4: Why isn’t my breadboard circuit working?
Check for loose wires, reversed polarity, or missing connections between power rails.
Q5: Is soldering needed on a breadboard?
No, that’s the main advantage — you can build circuits without soldering.
🏁 Conclusion
Breadboards are essential for anyone learning electronics or building projects. Their ease of use, flexibility, and reusability make them a must-have for students, makers, and professionals alike.
Whether you’re blinking an LED or building a temperature logger with an Arduino, a breadboard simplifies the process and encourages experimentation.
✅ Start small, test your circuits, and build smarter — all with a simple breadboard.