If you’re familiar with Arduino boards like the Uno or Nano, you might have overlooked one of the most powerful yet underrated boards — the Arduino Leonardo. It’s not just another microcontroller; it’s a game-changer in specific applications thanks to its unique ability to act as a native USB device like a keyboard or mouse.
Whether you’re building a custom HID (Human Interface Device), game controller, or advanced DIY project, the Leonardo deserves a closer look.
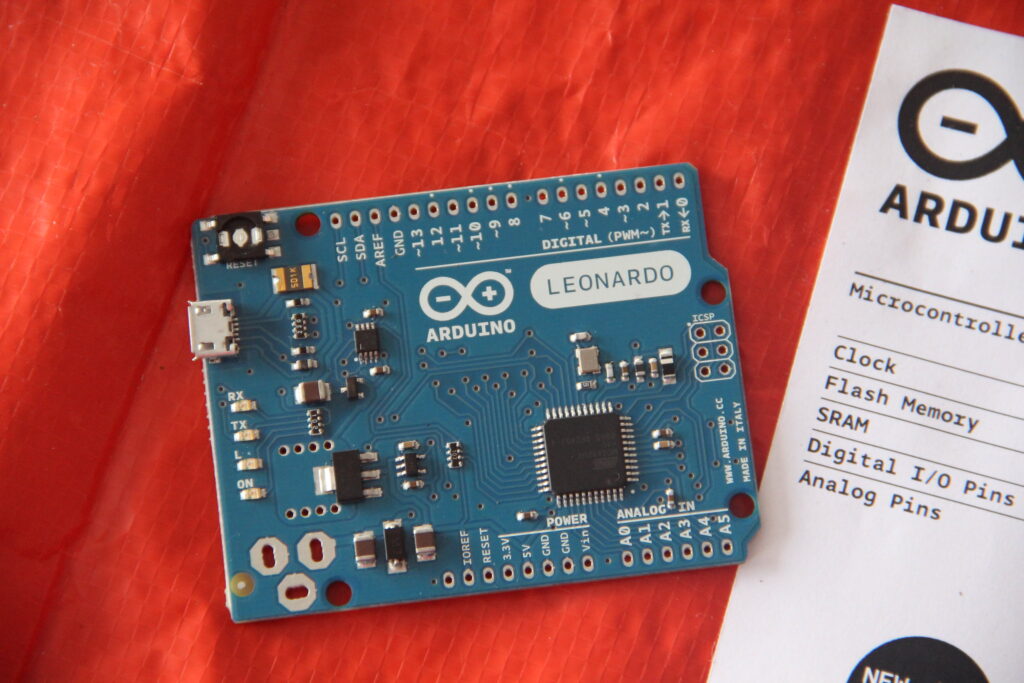
🧾 What is Arduino Leonardo?
Contents
- 1 🧾 What is Arduino Leonardo?
- 2 🔍 Key Specifications of Arduino Leonardo
- 3 🚀 What Makes Arduino Leonardo Unique?
- 4 🧠 Use Cases: Where Leonardo Outshines Others
- 5 ⚙️ Arduino Leonardo vs Other Arduino Boards
- 6 🧪 Sample Project Idea: Custom Shortcut Keyboard
- 7 📦 How to Power Arduino Leonardo
- 8 🧰 Real-World Projects Using Arduino Leonardo
- 9 🧭 Pin Configuration Summary
- 10 💬 FAQs About Arduino Leonardo
- 11 🧾 Summary: Should You Use Arduino Leonardo?
The Arduino Leonardo is a microcontroller board based on the ATmega32u4 chip. Unlike other boards (like Uno or Mega), the Leonardo doesn’t need a separate USB-to-serial chip. It communicates directly over USB, making it perfect for projects where the board has to emulate a keyboard, mouse, or joystick.
🔍 Key Specifications of Arduino Leonardo
| Feature | Details |
|---|---|
| Microcontroller | ATmega32u4 |
| Operating Voltage | 5V |
| Input Voltage | 7–12V (recommended) |
| Digital I/O Pins | 20 (7 PWM outputs) |
| Analog Input Pins | 12 |
| Flash Memory | 32 KB (4 KB used by bootloader) |
| SRAM | 2.5 KB |
| EEPROM | 1 KB |
| Clock Speed | 16 MHz |
| USB Connection | Micro-USB |
🚀 What Makes Arduino Leonardo Unique?
1. Native USB Communication
This is Leonardo’s superpower. Unlike Uno or Mega (which use a secondary chip for USB communication), Leonardo’s ATmega32u4 talks directly to your computer. It can:
- Emulate a keyboard
- Act as a mouse
- Be recognized as a joystick or HID device
2. Lower Cost
Despite having advanced capabilities, the Leonardo is often cheaper than the Uno or Mega.
3. More Analog Inputs
It offers 12 analog input pins, more than Uno’s 6 — perfect for sensors or analog control inputs.
🧠 Use Cases: Where Leonardo Outshines Others
- Custom USB Keyboards (macro pads, shortcuts)
- Game controllers (joysticks, racing wheels)
- Assistive technology devices
- Mouse emulation for gesture-based controls
- Data input automation (barcode, RFID + keyboard combo)
⚙️ Arduino Leonardo vs Other Arduino Boards
Here’s a quick comparison table to understand where Leonardo fits:
| Feature | Leonardo | Uno | Mega | Nano |
|---|---|---|---|---|
| Microcontroller | ATmega32u4 | ATmega328P | ATmega2560 | ATmega328P |
| Digital I/O Pins | 20 | 14 | 54 | 14 |
| Analog Inputs | 12 | 6 | 16 | 8 |
| USB HID Support | ✅ Native | ❌ Requires chip | ❌ Requires chip | ❌ Requires chip |
| Flash Memory | 32 KB | 32 KB | 256 KB | 32 KB |
| SRAM | 2.5 KB | 2 KB | 8 KB | 2 KB |
| USB Port | Micro-USB | USB-B | USB-B | Mini-USB |
| Best Use | HID Projects | General purpose | Large projects | Compact builds |
📝 Verdict: Choose Leonardo if your project involves any form of USB keyboard/mouse behavior. For pure pin count or memory, Mega wins. For compactness, go with Nano.
🧪 Sample Project Idea: Custom Shortcut Keyboard
Let’s say you want to build a video editing shortcut pad for tools like Premiere Pro or DaVinci Resolve. The Leonardo can act as a keyboard that sends shortcut keys like Ctrl+S, Space, K, etc., using push buttons.
🧾 Sample Code: Button Triggering a Keyboard Shortcut
cppCopyEdit#include <Keyboard.h>

const int buttonPin = 2;

void setup() {
  pinMode(buttonPin, INPUT_PULLUP);
  Keyboard.begin();
}

void loop() {
  if (digitalRead(buttonPin) == LOW) {
    Keyboard.print("Hello, world!");
    delay(500);
  }
}
🔐 Note: Since Leonardo can act like a keyboard, always upload with caution. Faulty code can lock your PC.
📦 How to Power Arduino Leonardo
You can power it via:
- USB (Micro USB) — ideal for HID projects.
- DC barrel jack — 7–12V recommended.
- Vin pin — external voltage input.
🧰 Real-World Projects Using Arduino Leonardo
- 🖥️ Macro keyboards for productivity
- 🎮 DIY gamepads and joystick controllers
- 🦽 Assistive devices for disabled users
- 🔐 Password typing automation tools
- 🚗 Car simulator steering wheels
- 🎹 MIDI controllers for music production
🧭 Pin Configuration Summary
- Digital Pins D0–D13
- PWM Pins: 3, 5, 6, 9, 10, 11, 13
- Analog Inputs: A0–A11
- I2C: A4 (SDA), A5 (SCL)
- SPI: 14 (MISO), 15 (SCK), 16 (MOSI), 17 (SS)
- Built-in LED: Pin 13
- USB Resettable Fuse: Adds protection
💬 FAQs About Arduino Leonardo
Q1. What makes Arduino Leonardo special?
Its ability to act like a USB keyboard/mouse using the built-in ATmega32u4 chip — no extra USB interface needed.
Q2. Can Leonardo do everything Uno does?
Yes, and more. It supports USB emulation, more analog pins, and is often cheaper. Just be careful with USB port conflicts during programming.
Q3. Is Leonardo beginner-friendly?
Yes, but HID-related features can confuse new users. Stick to regular GPIO at first and experiment gradually with HID.
Q4. How do I prevent code from spamming keystrokes?
Always use a button debounce and delay in your loop. Also, add a “safe mode” to disable Keyboard.begin() during development.
🧾 Summary: Should You Use Arduino Leonardo?
If you’re working on projects that interact with a PC or laptop — like emulating keyboard strokes, automating inputs, or building custom controllers — the Arduino Leonardo is a perfect fit.
While it might not be the first board most people reach for, it’s a specialist tool that unlocks unique possibilities.
✅ Why Choose Arduino Leonardo?
- USB HID support (keyboard/mouse emulation)
- Affordable and compact
- More analog pins than Uno
- Ideal for automation, games, assistive tech
If you’ve hit limitations with the Uno or Nano and want a board that plays directly with your computer, give the Leonardo a shot.