Meta Description:
Discover what jumper wires are, their types, uses, and why they are essential for every DIY electronics project. Learn everything you need to know in this beginner-friendly guide.
Introduction: What Are Jumper Wires?
Contents
- 1 Introduction: What Are Jumper Wires?
- 2 What Are Jumper Wires?
- 3 Types of Jumper Wires
- 4 Why Jumper Wires Are Essential in DIY Projects
- 5 Common Uses of Jumper Wires
- 6 Jumper Wires and Breadboards
- 7 How to Choose the Right Jumper Wires
- 8 How to Use Jumper Wires: Step-by-Step
- 9 FAQs About Jumper Wires
- 10 Conclusion
- 11 Recommended Posts:
If you’re diving into the world of DIY electronics, jumper wires are one of the first components you’ll encounter. These simple yet crucial wires help you build circuits without soldering. Whether you’re working with an Arduino, Raspberry Pi, or a breadboard, jumper wires act as the bridge that connects everything together.
In this guide, you’ll learn everything you need to know about jumper wires — from their types and uses to how to choose the right one for your project.
What Are Jumper Wires?
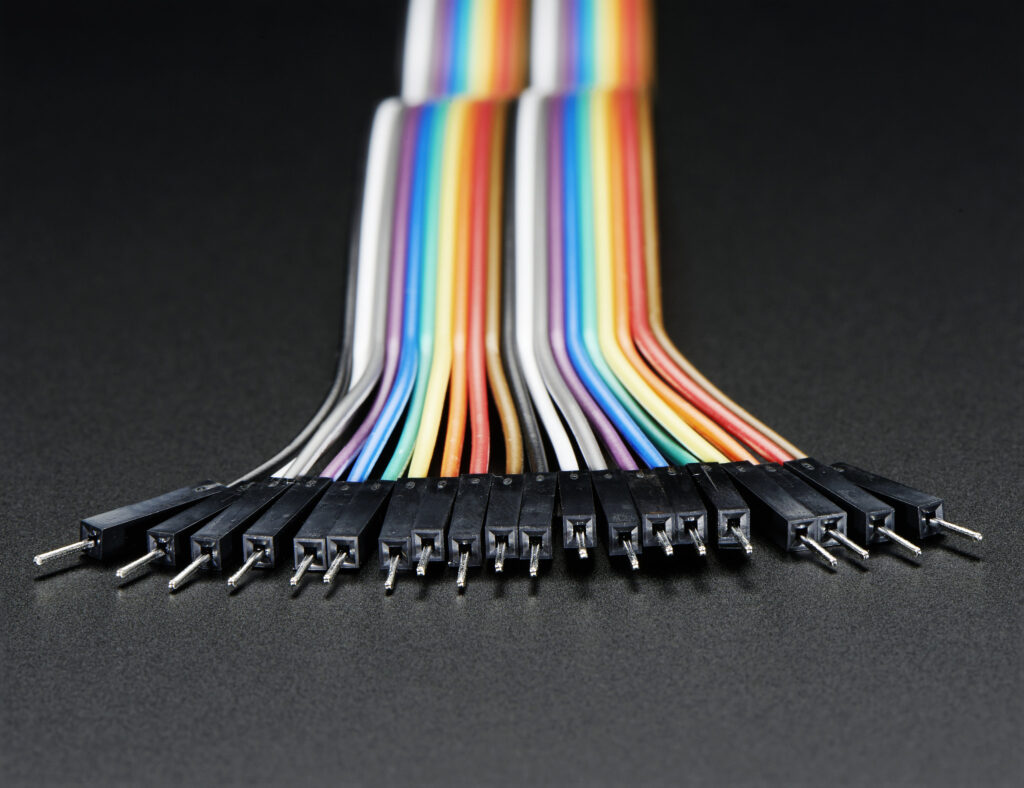
Jumper wires are short, insulated wires with connector pins or stripped ends used to make temporary electrical connections between components. They’re ideal for prototyping and testing circuits without permanently soldering the components.
These wires come in various lengths, colors, and connector types, making it easy to organize and connect different parts of your circuit.
Types of Jumper Wires
There are three main types of jumper wires based on the connector ends:
1. Male-to-Male Jumper Wires
- Both ends have exposed pins.
- Commonly used to connect components on a breadboard or to plug into female headers on boards like Arduino.
2. Female-to-Female Jumper Wires
- Both ends have female sockets.
- Useful for connecting two male header pins, such as those on sensors or modules.
3. Male-to-Female Jumper Wires
- One end has a pin, and the other a socket.
- Perfect for connecting a breadboard (female) to a microcontroller’s header (male).
Why Jumper Wires Are Essential in DIY Projects
Here’s why every electronics hobbyist and DIY maker needs jumper wires:
✅ No Soldering Needed: Easily change or fix circuits without permanent connections.
✅ Versatile: Works with breadboards, Arduinos, sensors, modules, and more.
✅ Reusable: Unlike soldered connections, jumper wires can be used again and again.
✅ Color-Coded: Makes circuit design easier to debug and understand.
✅ Time-Saving: Speeds up prototyping and testing processes.
Common Uses of Jumper Wires
Jumper wires are used in nearly every prototyping or testing phase of a project. Some common examples include:
- Connecting an LED to an Arduino.
- Interfacing sensors like the HC-SR501 PIR Motion Sensor or DS18B20 temperature sensor.
- Making power and ground connections on a breadboard.
- Linking LCDs, relays, or motors to development boards.
Jumper Wires and Breadboards
Jumper wires and breadboards go hand-in-hand. A breadboard allows you to build temporary circuits, and jumper wires allow you to make the electrical connections between components on the breadboard.
For example, when building a LED blinker project with Arduino, jumper wires are used to:
- Connect the Arduino digital pin to the breadboard.
- Connect the LED anode to the Arduino via a resistor.
- Complete the circuit using ground wires.
Tip: Use shorter jumper wires for nearby connections and longer ones for distant components to keep your layout neat.
How to Choose the Right Jumper Wires
When selecting jumper wires, consider the following:
1. Connector Type
- Choose male, female, or male-to-female based on the headers or components you’re using.
2. Wire Gauge
- Common jumper wires are 22 AWG (American Wire Gauge), which fits well into breadboards.
3. Wire Length
- Choose a length that keeps your circuit organized. Common lengths: 10 cm, 20 cm, 30 cm.
4. Quality
- Go for silicone-coated or flexible wires if you need durability and frequent bending.
5. Color Variety
- A set with multiple colors makes circuit design and debugging much easier.
How to Use Jumper Wires: Step-by-Step
Here’s how to use jumper wires in a simple Arduino project:
Project: Blink an LED
Components Needed:
- 1x Arduino Uno
- 1x Breadboard
- 1x LED
- 1x 220-ohm resistor
- 3x Jumper wires
Wiring Steps:
- Insert the LED on the breadboard.
- Use a jumper wire to connect Arduino pin 13 to the LED anode.
- Connect the LED cathode to one end of the resistor.
- Connect the other end of the resistor to GND using a jumper wire.
- Upload the “Blink” code to Arduino.
Jumper wires made it possible to quickly assemble this project with zero soldering!
FAQs About Jumper Wires
Q1: Can jumper wires carry high current?
A: Jumper wires are meant for low-current, low-voltage prototyping. For high-current applications, use thicker wires.
Q2: Are jumper wires reusable?
A: Yes! They can be reused many times unless physically damaged.
Q3: Can I make my own jumper wires?
A: Absolutely. Use solid-core wire, cut it to size, strip the ends, or crimp connectors.
Q4: Do jumper wires affect circuit performance?
A: Not in small, low-frequency circuits. For high-speed or sensitive circuits, wire length and layout matter.
various lengths and types (male/male, male/female, female/female) is ideal for beginners.
Conclusion
Jumper wires are the lifeline of any beginner-friendly electronics project. Whether you’re building a blinking LED, a temperature logger, or a Wi-Fi-controlled relay — jumper wires allow you to connect components easily and effectively without soldering.
If you’re serious about learning DIY electronics, investing in a good jumper wire kit is a must. Combine it with a breadboard, an Arduino, and a few sensors — and you’re ready to create amazing projects!
Recommended Posts:
- 🔧 What Is a Breadboard and How to Use It
- 💡 How to Blink an LED Using Arduino
- 🌡️ DS18B20 Temperature Sensor Guide