The LED (Light Emitting Diode) is a revolutionary component in the electronics world. From lighting up tiny indicators on a circuit board to illuminating entire stadiums, LEDs have replaced traditional bulbs in almost every industry.
In this blog, we’ll explore what LEDs are, how they work, their types, symbols, circuits, advantages, and real-life applications. This is your complete guide to understanding and using LEDs in your projects.
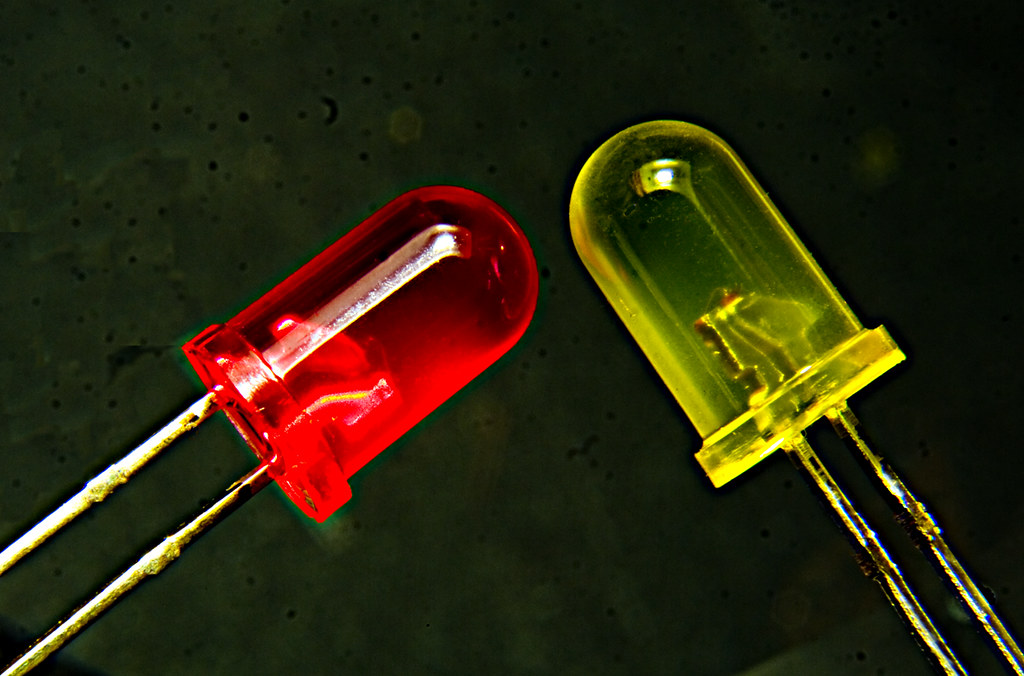
💡 What is an LED?
Contents
- 1 💡 What is an LED?
- 2 🔧 How Does an LED Work?
- 3 🛠️ LED Symbol & Polarity
- 4 🧪 LED Circuit Diagram
- 5 🔄 Types of LEDs
- 6 📦 Applications of LEDs
- 7 ✅ Advantages of LEDs
- 8 ⚠️ Precautions While Using LEDs
- 9 🧰 Arduino LED Blinking Example
- 10 📈 SEO Keywords Used in This Article
- 11 ❓ Frequently Asked Questions (FAQs)
- 12 🏁 Conclusion
LED stands for Light Emitting Diode. It is a semiconductor device that emits light when an electric current passes through it.
Unlike traditional bulbs that generate light through heat, LEDs emit light directly from the movement of electrons — making them highly efficient and long-lasting.
🔍 Key Facts:
- Full Form: Light Emitting Diode
- Type: Semiconductor device
- Polarity: Has anode (+) and cathode (−)
- Function: Converts electrical energy into light
🔧 How Does an LED Work?
LEDs work on the principle of electroluminescence.
When a voltage is applied in the forward-biased direction, electrons and holes in the semiconductor recombine, releasing energy in the form of photons (light).
🔁 LED Working Process:
- Power applied across the LED (correct polarity)
- Electrons move from n-type to p-type material
- Recombination occurs
- Light is emitted
❗ Note: LEDs do not work in reverse polarity and may get damaged.
🛠️ LED Symbol & Polarity

✅ LED Circuit Symbol:
luaCopyEdit     |>|
   --|   |--->
     |>|
- Anode (+): Longer leg
- Cathode (−): Shorter leg or flat side on casing
📏 Forward Voltage:
- Red LED: 1.8V – 2.2V
- Blue/White LED: 3.0V – 3.5V
Always use a current-limiting resistor in series to protect the LED.
🧪 LED Circuit Diagram
🔌 Basic LED Circuit with Resistor:
Components Required:
- 1 x LED
- 1 x Resistor (typically 220Ω to 1kΩ)
- Power source (5V or battery)
🖉 Circuit:
luaCopyEdit(+) --- [Resistor] ---|>|--- (GND)
                     LED
This prevents too much current from damaging the LED.
🔄 Types of LEDs
There are various types of LEDs available depending on size, shape, and functionality:
| Type | Description |
|---|---|
| Standard LED | Basic indicator LED (Red, Green, Blue) |
| RGB LED | Combines Red, Green, and Blue in one package |
| SMD LED | Surface-mounted, used in LED strips and displays |
| High Power LED | Bright, used in flashlights and floodlights |
| Infrared LED (IR) | Emits infrared light, used in remotes/sensors |
| Bi-color LED | Two LEDs in one with two or three leads |
| Flashing LED | Blinks automatically without external circuit |
📦 Applications of LEDs
LEDs are used in a wide range of industries:
🔧 Electronics:
- Power indicators
- Arduino projects
- 7-segment displays
🏠 Home Use:
- LED bulbs
- TV backlights
- LED strips for decoration
🏢 Industrial:
- Traffic signals
- Street lights
- Machine indicators
🌐 IoT & Automation:
- Status lights
- Smart lighting systems
- Sensor feedback
✅ Advantages of LEDs
| Feature | Benefit |
|---|---|
| Low Power | Consumes much less energy |
| Long Life | 25,000 – 50,000 hours lifespan |
| Instant On | No warm-up time |
| Cooler Operation | Emits very little heat |
| Eco-Friendly | No mercury or harmful substances |
| Compact Size | Easy to integrate in circuits |
⚠️ Precautions While Using LEDs
- Always use a resistor to limit current.
- Check polarity before connecting.
- Don’t exceed the forward voltage or current.
- Use heatsinks with high-power LEDs.
🧰 Arduino LED Blinking Example
One of the first Arduino projects uses an LED to blink.
cppCopyEditint ledPin = 13;

void setup() {
  pinMode(ledPin, OUTPUT);
}

void loop() {
  digitalWrite(ledPin, HIGH); // LED ON
  delay(1000);
  digitalWrite(ledPin, LOW);  // LED OFF
  delay(1000);
}
This code turns the LED ON and OFF every second.
📈 SEO Keywords Used in This Article
| Keyword | Description |
|---|---|
| LED full form | Light Emitting Diode definition |
| LED working principle | How LED works explained |
| LED circuit diagram | Basic LED wiring example |
| LED types | Different kinds of LEDs |
| LED applications | Where LEDs are used |
| LED advantages | Benefits of using LEDs |
| LED with Arduino | Blinking LED code example |
| LED symbol | Circuit symbol and polarity info |
❓ Frequently Asked Questions (FAQs)
Q1: What is the full form of LED?
LED stands for Light Emitting Diode.
Q2: Why is a resistor used with LED?
To limit current and prevent burning the LED.
Q3: What happens if I connect LED in reverse?
It won’t light up and might get damaged over time.
Q4: Can LEDs change color?
Yes, RGB LEDs can display multiple colors.
Q5: How long does an LED last?
Typically 25,000 to 50,000 hours, depending on usage and quality.
🏁 Conclusion
LEDs are the heart of modern electronics. Their efficiency, durability, and versatility make them ideal for beginners and experts alike. Whether you’re building an Arduino project, upgrading your home lighting, or working on an IoT system, LEDs will always light the way.