In an era where data monitoring is key to safety and efficiency, a Temperature Logger plays a crucial role across multiple industries—from cold storage and food safety to server rooms and greenhouses. Whether you’re a DIY enthusiast, a student, or an engineer, creating your own temperature logger can be both educational and practical.
In this guide, you’ll learn everything about temperature loggers: what they do, where they’re used, the features that make them effective, and how to build your own using common electronic components.
What is a Temperature Logger?
Contents
- 1 What is a Temperature Logger?
- 2 Key Features of a Temperature Logger
- 3 How Does a Temperature Logger Work?
- 4 DIY Temperature Logger Project – Step-by-Step Guide
- 5 Step-by-Step Build Instructions
- 6 Real-World Use Cases.
- 7 FAQs About Temperature Loggers
- 7.1 ❓What is the difference between a thermometer and a temperature logger?
- 7.2 ❓How accurate is a DIY temperature logger?
- 7.3 ❓Can I use a temperature logger outdoors?
- 7.4 ❓How often does the logger save data?
- 7.5 ❓Can I monitor humidity too?
- 7.6 ❓What file format is the data saved in?
- 7.7 ❓Can I view data in real-time on a PC or phone?
- 7.8 ❓How long can a battery-powered logger run?
- 7.9 ❓Can I make it wireless?
- 8 Final Thoughts
A Temperature Logger is an electronic device that automatically measures and records temperature over time. It stores these readings in internal memory (or on an SD card), which can later be downloaded to a computer or viewed on an LCD display.
These devices are commonly used in:
- Cold chain logistics (pharmaceuticals, vaccines)
- Agricultural applications (greenhouse monitoring)
- Server/data centers
- Food and beverage processing
- HVAC system testing
Key Features of a Temperature Logger
When choosing or building a temperature logger, consider the following features:
1. Accurate Temperature Sensing
High-quality sensors like DS18B20 or DHT22 offer ±0.5°C accuracy, ideal for scientific and industrial-grade applications.
2. Data Logging
The core feature. Temperature data is saved to internal EEPROM or external storage like an SD card, so you can analyze trends over hours or days.
3. Timestamping
Data is usually timestamped using a Real-Time Clock (RTC) module like DS3231, making the log useful for audits or compliance.
4. Display
Some loggers include LCD or OLED displays to show real-time readings.
5. Alert Mechanism
Optional features include buzzer alerts or LEDs when temperature exceeds or drops below a threshold.
6. Power Efficient
Many loggers run on battery power and are optimized to work for weeks or even months on a single charge.
7. Portable and Compact
Most temperature loggers are pocket-sized, waterproof, and enclosed in durable casings for use in rugged environments.
How Does a Temperature Logger Work?
A temperature logger works by continuously reading data from a temperature sensor, then saving that data along with a timestamp into memory or a file.
Here’s the basic working principle:
- Sensor detects temperature.
- Microcontroller reads sensor data.
- RTC adds timestamp.
- Data is stored to EEPROM or SD card.
- Optionally, data is displayed on an LCD or sent to a computer wirelessly.
Many DIY temperature loggers are based on Arduino or ESP32 microcontrollers for easy customization and programming.
DIY Temperature Logger Project – Step-by-Step Guide
Here’s how you can build your own temperature logger using easily available components. This version stores temperature and time data on an SD card and shows current readings on an LCD.
🔧 Components Required:
| Component | Quantity | Description |
|---|---|---|
| Arduino Uno or Nano | 1 | Main controller |
| DS18B20 or DHT22 Sensor | 1 | Digital temperature sensor |
| DS3231 RTC Module | 1 | Real-Time Clock for timestamps |
| Micro SD Card Module | 1 | For data storage |
| SD Card (formatted as FAT) | 1 | 4GB or higher |
| I2C LCD (16×2 or 20×4) | 1 | For display |
| Breadboard + Jumper Wires | As needed | For connections |
| 10kΩ Resistor | 1 | Pull-up for DS18B20 sensor |
| Power Source | 1 | USB cable, 9V battery, or power bank |
| Enclosure (Optional) | 1 | For housing the project |
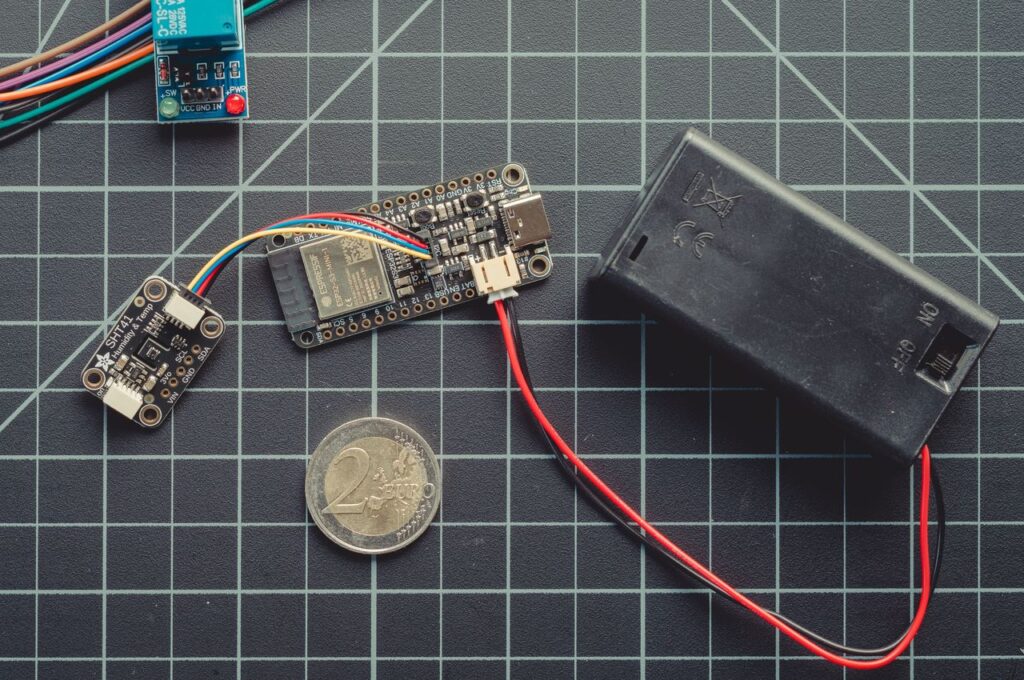
📷 Circuit Diagram Overview
Step-by-Step Build Instructions
Step 1: Connect the Temperature Sensor
- Connect VCC → 5V, GND → GND, DATA → D2.
- Place a 10kΩ resistor between DATA and VCC.
Step 2: Connect the RTC Module (DS3231)
- VCC → 5V, GND → GND
- SDA → A4, SCL → A5
Step 3: Connect the I2C LCD
- Connect same as RTC: SDA → A4, SCL → A5
- VCC → 5V, GND → GND
Step 4: Connect the SD Card Module
- VCC → 5V
- GND → GND
- CS → Pin 10
- MOSI → Pin 11
- MISO → Pin 12
- SCK → Pin 13
Step 5: Upload the Code
- Use the OneWire and DallasTemperature libraries for DS18B20
- RTClib for RTC
- LiquidCrystal_I2C for display
- SD library for SD logging
Step 6: Power Up
- Connect USB or 9V battery.
- LCD should show current temperature and time.
- Check your SD card for a
data.csvfile.

💻 Sample Arduino Code (Simplified)
Full Arduino Code
cppCopyEdit#include <OneWire.h>
#include <DallasTemperature.h>
#include <Wire.h>
#include <RTClib.h>
#include <LiquidCrystal_I2C.h>
#include <SD.h>

// === Pin Definitions ===
#define ONE_WIRE_BUS 2      // DS18B20 on D2
#define SD_CS 10            // SD card chip select

// === Sensor and Modules ===
OneWire oneWire(ONE_WIRE_BUS);
DallasTemperature sensors(&oneWire);
RTC_DS3231 rtc;
LiquidCrystal_I2C lcd(0x27, 16, 2);  // Address 0x27 for 16x2 I2C LCD

File dataFile;

void setup() {
  Serial.begin(9600);
  sensors.begin();

  // Initialize LCD
  lcd.init();
  lcd.backlight();
  lcd.setCursor(0, 0);
  lcd.print("Temp Logger");

  // Initialize RTC
  if (!rtc.begin()) {
    lcd.setCursor(0, 1);
    lcd.print("RTC Failed");
    while (1);
  }

  // Uncomment to set RTC time (only once)
  // rtc.adjust(DateTime(F(__DATE__), F(__TIME__)));

  // Initialize SD card
  if (!SD.begin(SD_CS)) {
    lcd.setCursor(0, 1);
    lcd.print("SD Init Failed");
    while (1);
  }

  delay(2000);
  lcd.clear();
}

void loop() {
  sensors.requestTemperatures();
  float tempC = sensors.getTempCByIndex(0);

  DateTime now = rtc.now();

  // Format timestamp and temperature
  String dataString = "";
  dataString += String(now.year()) + "-";
  dataString += String(now.month()) + "-";
  dataString += String(now.day()) + " ";
  dataString += String(now.hour()) + ":";
  dataString += String(now.minute()) + ":";
  dataString += String(now.second()) + ",";
  dataString += String(tempC, 2) + "C";

  // Write to SD card
  dataFile = SD.open("data.csv", FILE_WRITE);
  if (dataFile) {
    dataFile.println(dataString);
    dataFile.close();
    Serial.println(dataString);
  } else {
    Serial.println("SD Write Failed");
  }

  // Show on LCD
  lcd.setCursor(0, 0);
  lcd.print("Temp: ");
  lcd.print(tempC, 1);
  lcd.print((char)223); // degree symbol
  lcd.print("C   ");

  lcd.setCursor(0, 1);
  lcd.print(now.hour());
  lcd.print(":");
  if (now.minute() < 10) lcd.print("0");
  lcd.print(now.minute());
  lcd.print(":");
  if (now.second() < 10) lcd.print("0");
  lcd.print(now.second());

  delay(60000); // log every 60 seconds
}
📌 Notes:
- You must install these libraries via Library Manager:
DallasTemperatureOneWireRTClibLiquidCrystal_I2CSD
- Format your SD card as FAT32
- Create a file manually named
data.csvor let the code create it automatically
// Code outline (actual code is too long for here):
- Initialize LCD, SD, RTC, and sensor.
- In loop: read temperature, get time, display on LCD, and save to SD card.
- Add delay (e.g., 60 seconds).
🧠 Working Explanation:
- Initialization:
- At startup, the Arduino initializes all modules and begins reading data.
- Temperature Sensing:
- The DS18B20 sends temperature data digitally to the Arduino every few seconds.
- Timestamping:
- The DS3231 module sends accurate date and time to the Arduino.
- Logging:
- Each reading (e.g.,
24.6°C, 2025-05-30 13:45:00) is saved as a line in a CSV file on the SD card.
- Each reading (e.g.,
- Display:
- LCD shows the current temperature and time for real-time feedback.
Real-World Use Cases.
Temperature loggers are commonly used across a range of applications in the United States:
- Cold Chain Monitoring: Used in vaccine transport to ensure temperature stability.
- Greenhouses: Helps maintain optimal growth conditions.
- Server Rooms: Tracks heat levels to prevent system failures.
- Home Automation: Integrate into HVAC systems for energy efficiency.
- Industrial Freezers: Prevent spoilage of perishable goods.
FAQs About Temperature Loggers
❓What is the difference between a thermometer and a temperature logger?
A thermometer shows the current temperature, while a temperature logger records temperature over time for analysis.
❓How accurate is a DIY temperature logger?
Using quality sensors like the DS18B20, you can achieve ±0.5°C accuracy, which is sufficient for most applications.
❓Can I use a temperature logger outdoors?
Yes, but the sensor and electronics should be housed in a weatherproof enclosure, especially in harsh environments.
❓How often does the logger save data?
It depends on your code. Most loggers record every 30 seconds to 5 minutes, but it can be adjusted for your use case.
❓Can I monitor humidity too?
Yes, if you use a DHT22 sensor, it will give both temperature and humidity readings. Adjust your code accordingly.
❓What file format is the data saved in?
Usually in CSV format, which opens easily in Microsoft Excel or Google Sheets for analysis.
❓Can I view data in real-time on a PC or phone?
Yes, if you use Bluetooth (HC-05), WiFi (ESP32), or a USB serial connection, you can stream data to a display app or terminal.
❓How long can a battery-powered logger run?
If optimized for sleep mode, a 9V battery can power a logger for several weeks. For long-term use, consider a Li-ion battery with a solar panel.
❓Can I make it wireless?
Absolutely! Use an ESP32 instead of Arduino Uno to enable WiFi-based logging to Google Sheets or a web dashboard.
Final Thoughts
A Temperature Logger is more than just a DIY electronics project—it’s a powerful tool with real-world applications. Whether you’re automating your greenhouse, managing cold storage, or conducting scientific experiments, building a temperature logger helps you learn key concepts in embedded systems, data logging, and sensor integration.
This project is beginner-friendly, highly customizable, and extremely practical. With just a few components and a basic understanding of Arduino, you can create a reliable system to monitor and store temperature data.
💬 Have Questions or Need Help?
If you face any issues while building your Temperature Logger project, feel free to drop a comment below. I’m here to help you troubleshoot and guide you step by step.
Happy DIY-ing! 🔧💡